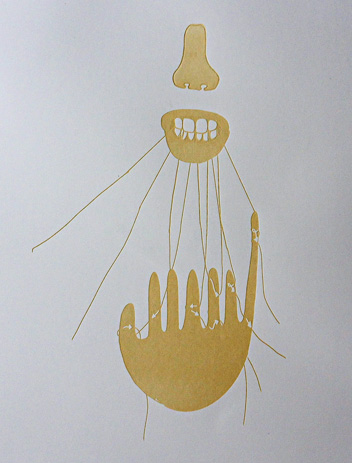
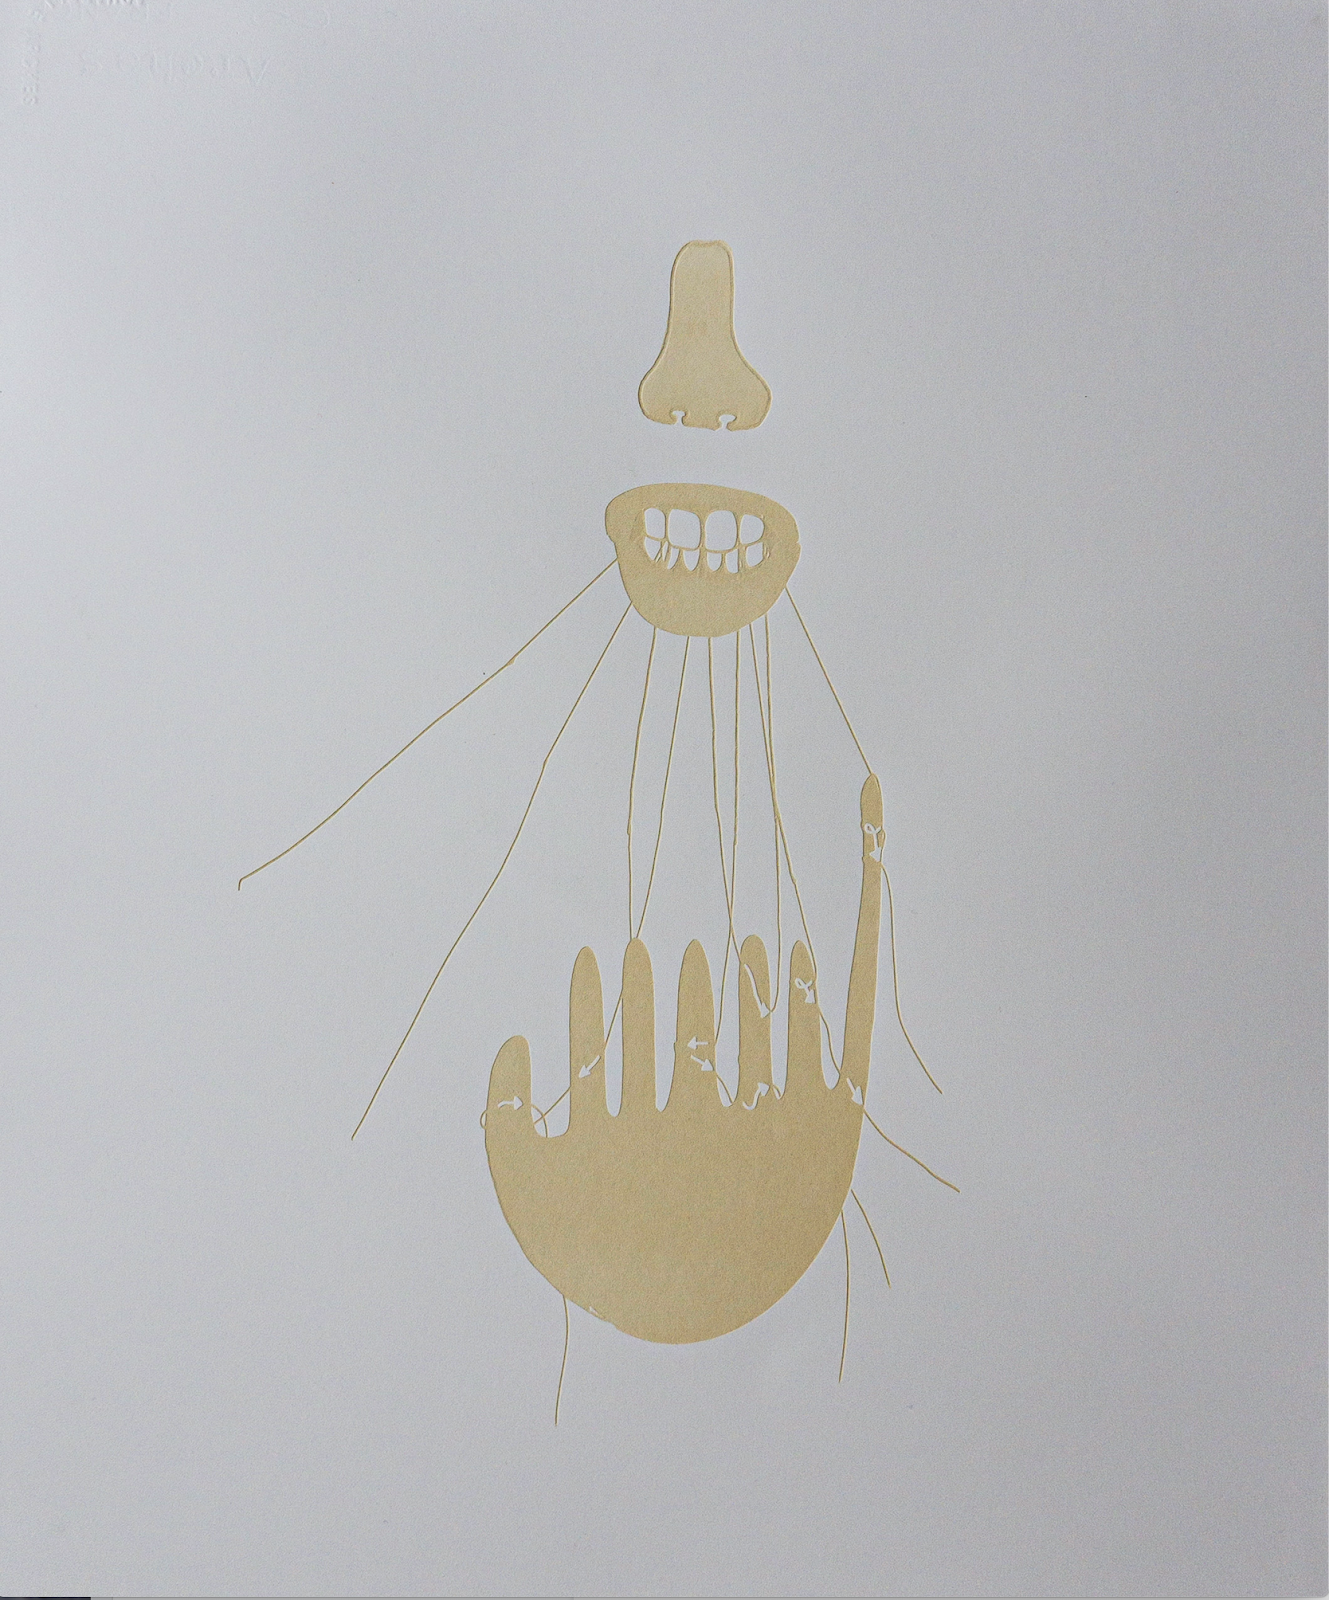
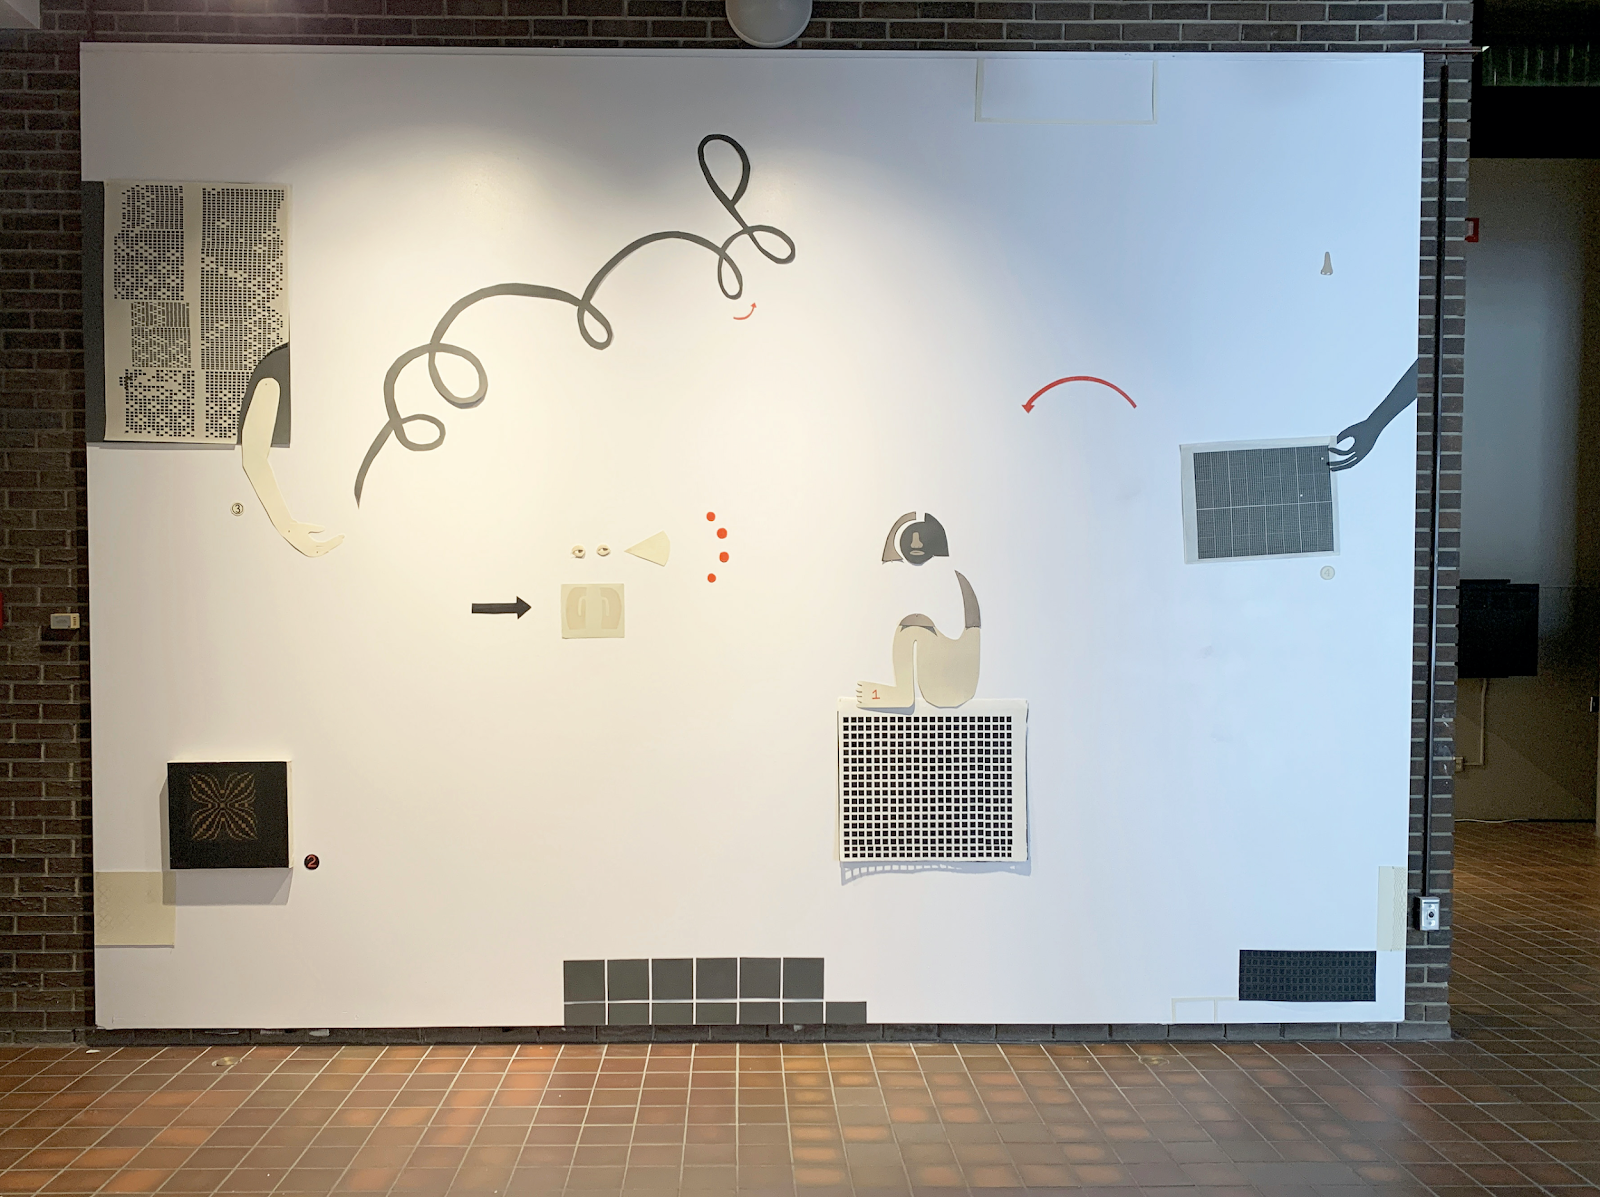
Paper installation by Kim McCollum
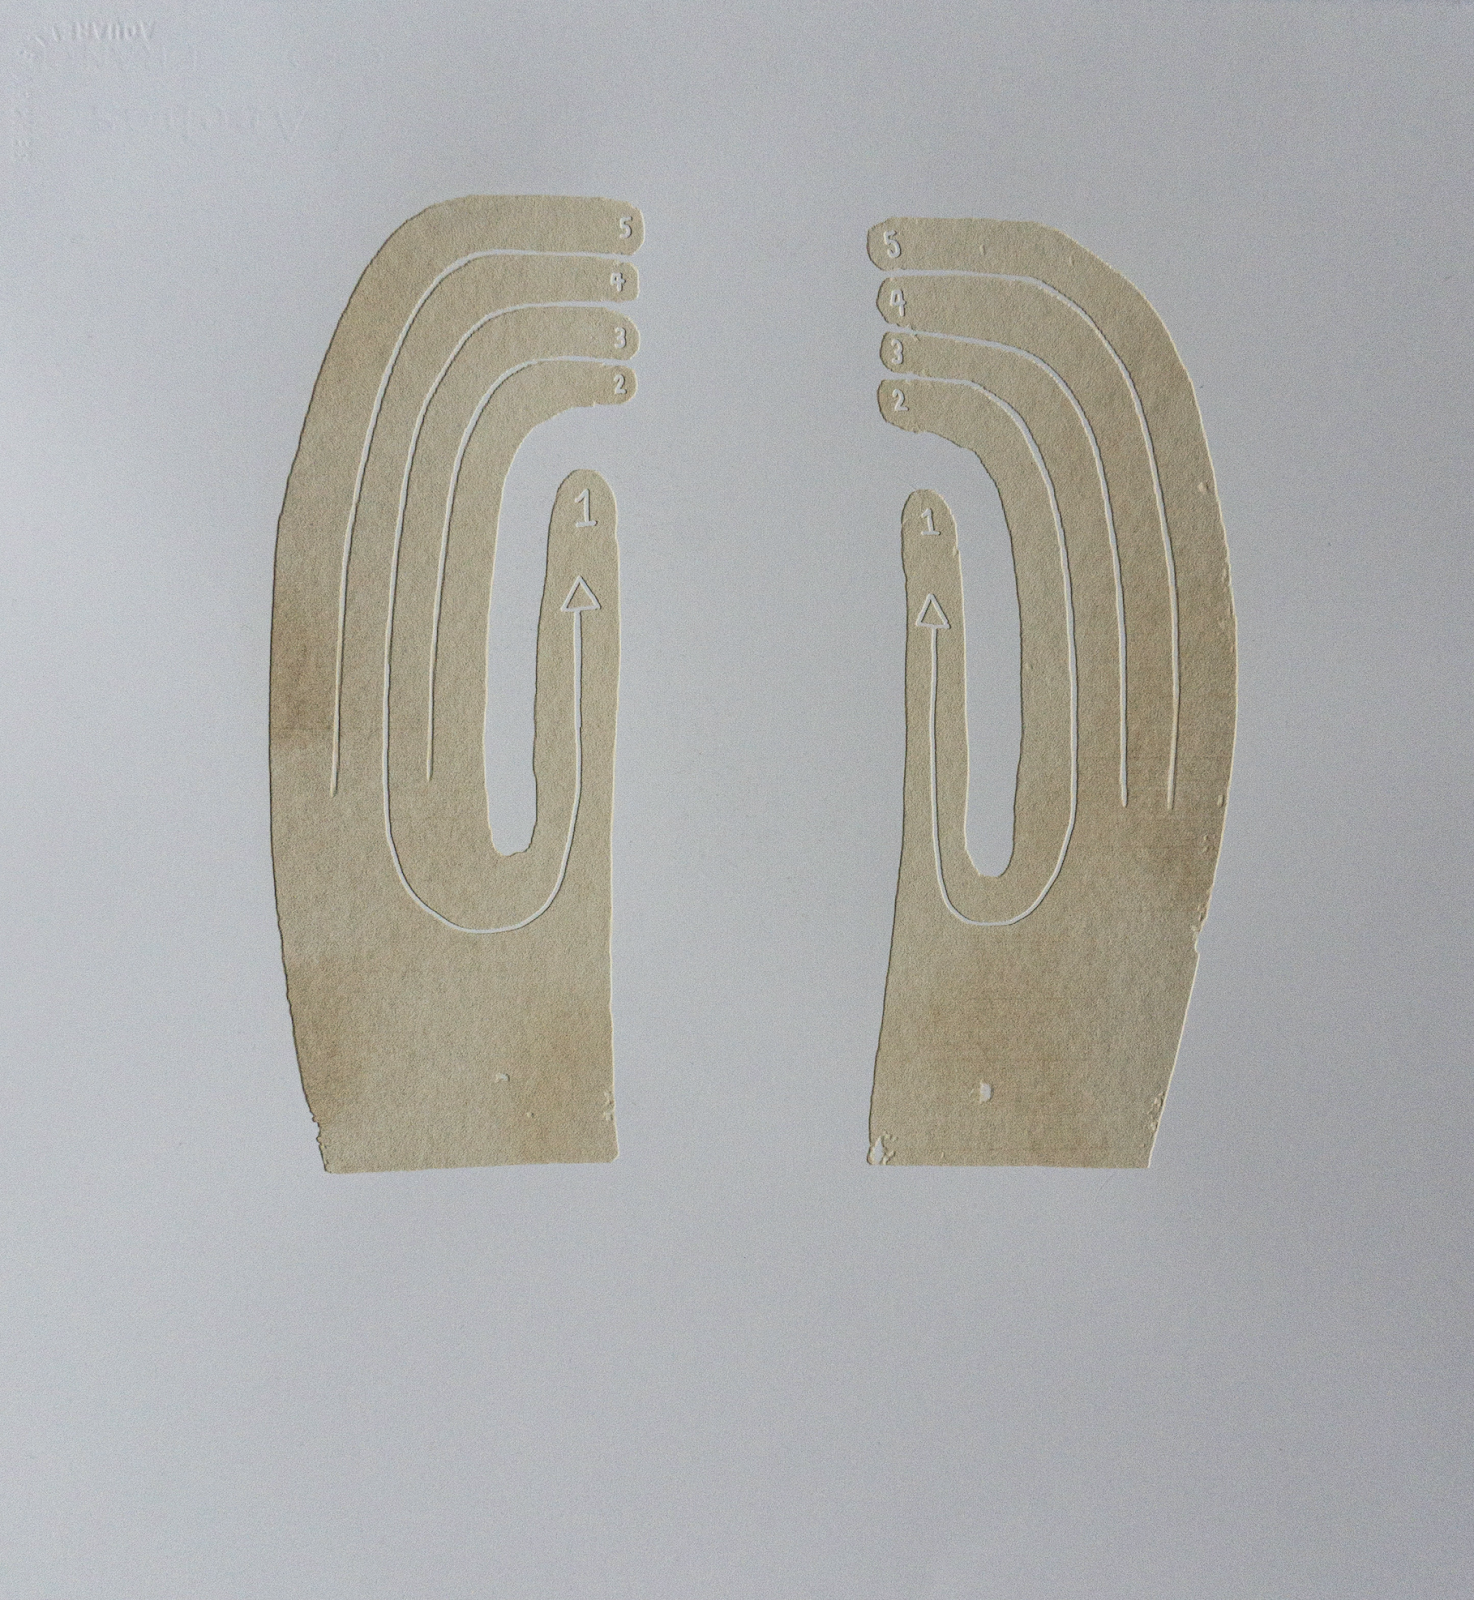
I made a series of digital drawings that I wanted to engrave into paper. I tested the settings until I found one that would go almost all the way through the paper but not quite. The colour of the paper when touched by the laser was darker. Based on these pieces, I decided to use some of the pieces that I made as part of a large wall collage that also incorporated fine paper grids that I cut using the laser.
MATERIAL: Paper
CUT/ENGRAVED: Both
CUTTING/ENGRAVING TIME: Most pieces took from 1-20 minutes.
FILE PREPARATION: I made the file in Procreate and then opened it in illustrator on the laser cutter computer

SETTINGS USED: Standard Trotec Paper settings. For some materials I ran the laser twice to cut deeper.
NOTES: I weighed the material down with the long metal weights. It worked best when the paper did not cover the whole area. Smaller pieces were much easier to manage than larger pieces.
TROUBLE SHOOTING: With the cut grids, it was difficult to collect all of the tiny pieces from the laser cutter afterwards. A little vacuum would have really helped!
IMAGE OF FINAL PROJECT:
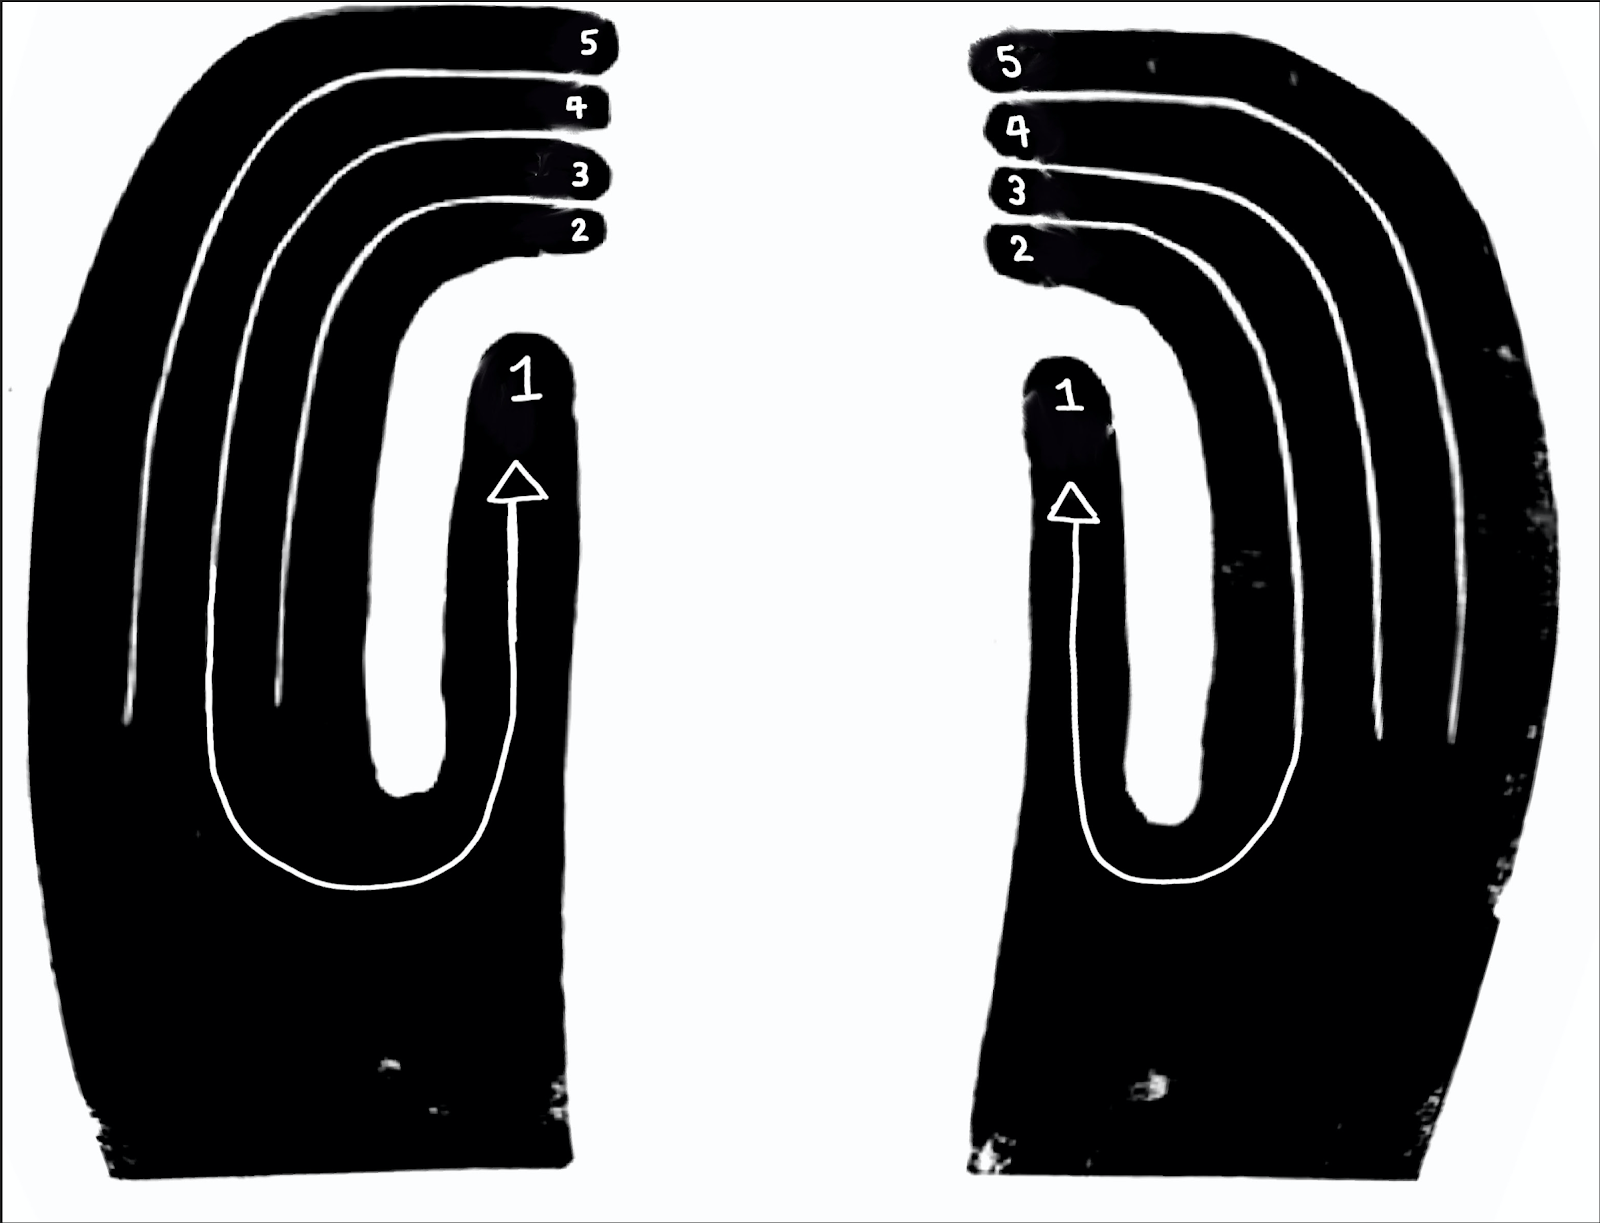
CONCEPTUAL REASONING FOR USING THE LASER CUTTER FOR YOUR PROJECT: Part of my research involves looking at the relationship between weaving looms and technology. The laser cutter and a loom work in similar ways, responding to binary code- cut or do not cut / lift thread or do not lift