What are they?
Raster images store colour information for every pixel of an image, split into 3 or 4 channels (Red, Green, Blue, and “Alpha” or transparency). Raster images are “lossy” images. Scaling a raster image down results in a permanent loss of pixel information; scaling a raster image up fills new pixels by blending or interpreting between existing pixels.
When do I use them?
Engraving jobs will most often use raster images (though engraving can also be done using vector data). Raster data is never used for cutting jobs.
Preparing Raster Images for Engraving
Only grayscale images are used for engraving. Colour images should be converted to grayscale before engraving. Grayscale images will be bitmapped (broken up into a pattern of individual balck and white pixels) by the software.
Dark/black areas indicate where the laser will engrave; light/white areas indicate where the laser will not engrave. This means that some images may need to be inverted to produce the desired result. Images can either be inverted before printing, or inverted in the Trotec property settings.
Images should be resized to the scale you wish to engrave them at. This can be done in advance, or in CorelPHOTO-PAINT using the instructions below.
Resizing Images in CorelPHOTO-PAINT
- Open your image in CorelPHOTO-PAINT
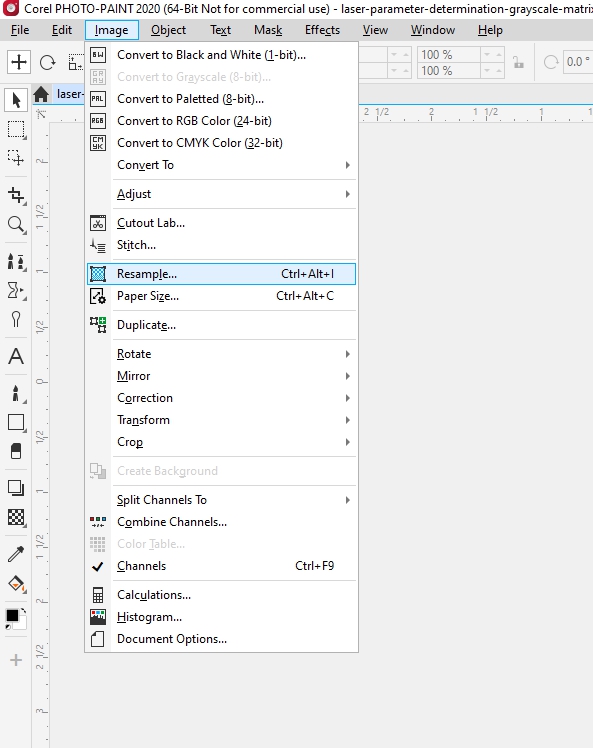
- From the top toolbar, navigate to “Image”
- Select “Resample”
- Alternatively, use the keyboard shortcut “Ctrl+Alt+I”
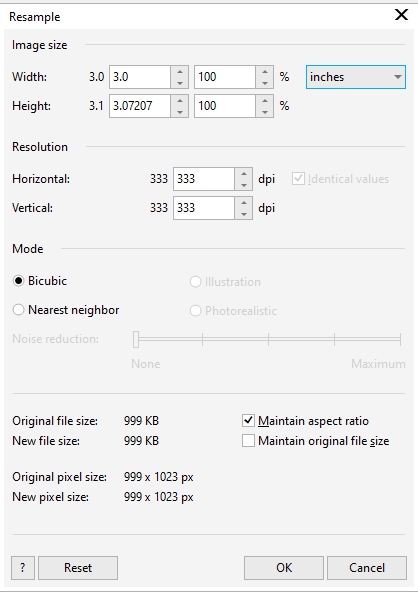
- Use “Width” and “Height” under “Image Size” to modify the image dimensions
- Use “Horizontal” and “Vertical” under “Resolution” to modify the image resolution
N.B: The resolution of the image will not necessarily be the same as the engraving resolution. The resolution set in the “Process Options” section of the Trotec print interface will override the resolution of the image. However, the original image resolution will affect the appearance of any Halftone setting specified in “Process Options”. In general, downsampling (creating a halftone at a lower resolution than the image) will produce better results than upsampling (creating a halftone at a higher resolution than the image).
Inverting Images in CorelPHOTO-PAINT
- Open your image in CorelPHOTO-PAINT
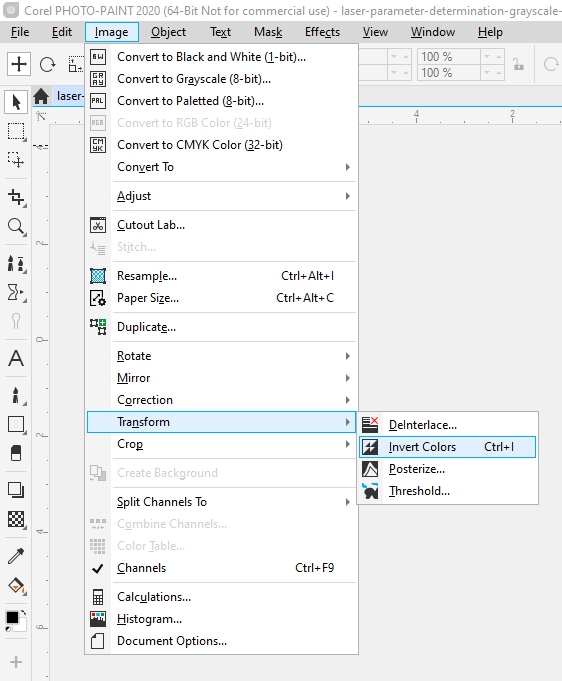
- From the top toolbar, navigate to “Image”
- Select “Transform”
- Select “Invert Colors”
- Alternatively, use the keyboard shortcut “Ctrl+I”
Converting Images to Grayscale in CorelPHOTO-PAINT
- Open your image in CorelPHOTO-PAINT
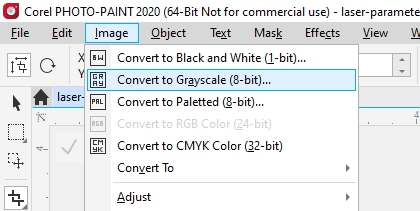
- From the top toolbar, navigate to “Image”
- Select “Convert to Grayscale (8-bit)”
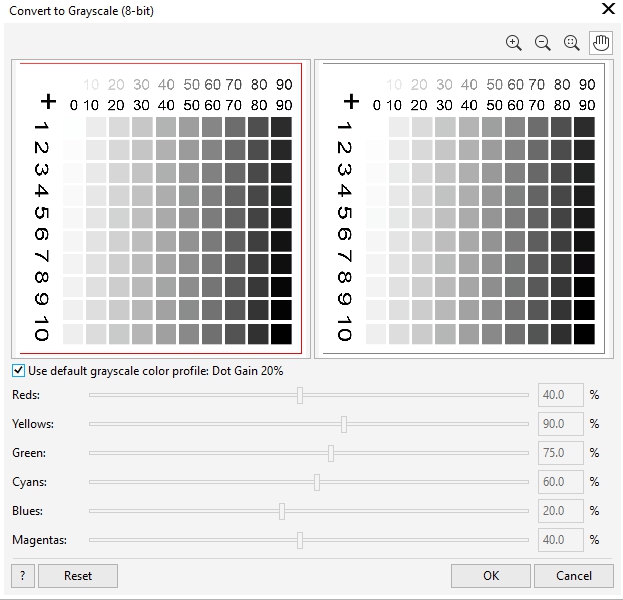
- Press “Ok”
- Alternatively, uncheck the “use default grayscale…” checkbox and use the sliders to adjust how the image is translated
Printing Images from CorelPHOTO-PAINT
- Open your image in CorelPHOTO-PAINT
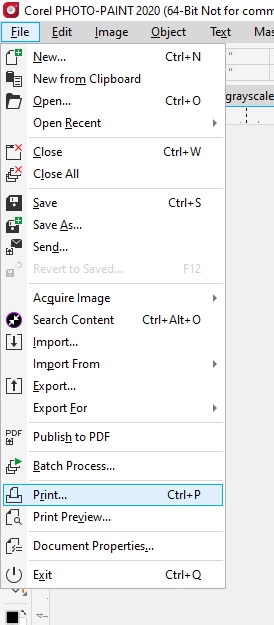
- From the top toolbar, navigate to “File”
- Select “Print”
- Alternatively, use the keyboard shortcut “Ctrl+P”
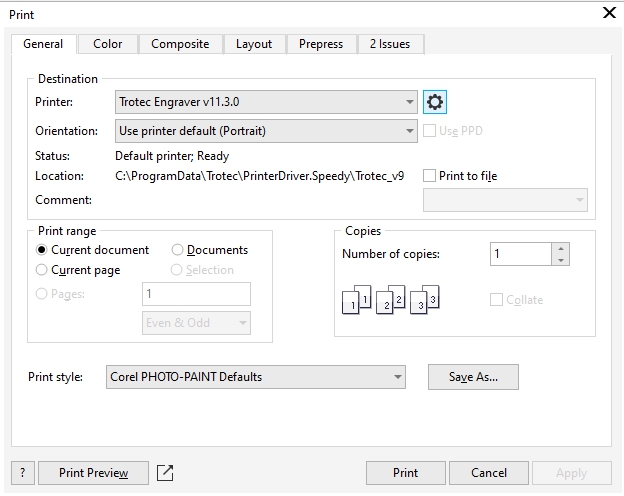
- Ensure that “Trotec Engraver” is selected in the “Printer:” dropdown list
- Select the Gear icon next to the “Printer:” dropdown list
- Enter the properties for your job. See “Understanding the Trotec Property Settings” for more information
- Select “Apply”, then “Print”
- Your job will be sent to the Trotec Job Control software with the job properties you have specified. Some of these parameters can be further modified in Job Control
Best Practices for Raster Images
- Higher resolution is better. Work with images at their original size whenever possible. You can always lower resolution at the end
- Save your images in an uncompressed format such as .tiff or .psd to preserve quality over time
- Keep in mind that black is engraved; white is not engraved. This is particularly important when engraving blocks for relief printing, and may mean that your image needs to be inverted.
- The greatest information loss when surface engraving photographic images is in the shadow detail. Anything greater than 70% gray will often be pushed to black. This can be alleviated by pulling up the tone curve of your image to approximately 70% while keeping the midpoint fixed
Considerations for engraving relief blocks
Photographic images engraved on a relief block should be inverted, so that the dark areas of the image become white (and therefore are not engraved, and are able to receive ink). Remember that relief printing flips images right-to-left. Inverting (and flipping, if necessary) can either be done before printing, or handled through the Trotec property settings.